
Mt Tremper, Baby Deer, and Land in Woodstock
Here's the 2 story 1700 sq ft 3 bedroom home on 3.5 acres in Mt Tremper, NY.
A baby deer trying to keep it quiet while danger approached and left.

My 6.3 acres of land in Woodstock NY (within walking distance of town) that I'm pairing with a 1900 sq ft home.

The Grease and the Thank You.
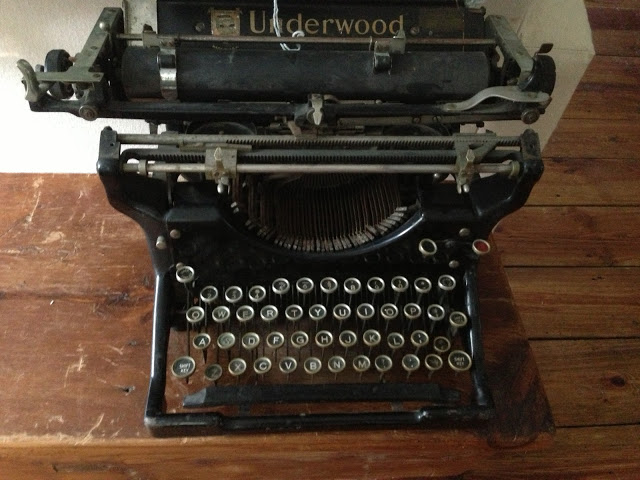
One of my collection.
My friend Bryan who owns Cottage 34 is putting the house on the market for a number of life reasons (a REAL beauty at $365k), and his attempt to sign up a realtor really reminded me of how foreign the business environment is up here to anyone of any business experience (or actually 'life experience'). He interviewed a few select realtors of varying competency and was pretty put off soon after selecting one just cause of the antics of those that weren't selected. And I was like, "Dude, welcome to my life - try 11 years of greaseless existence."
And what I mean - is for the most part few people practice the art of business appreciation up here, that lubrication that keeps clients loyal in times of temptation, that grease that bestows the deference and respect up the ladder (even if it of course is feigned), that time-honered tradition of the expense account, the girlie show, the drunk and sloppy round of golf, the spa day, that has kept more clients in the stable than the most stellar work.
My banking friend remarked casually about it - just the sheer volume of automatic work that gets shuffled to appraisers, etc..., you would think a majority of these supplier of services would know who is buttering the bread, but I know most bankers receive much of anything in terms of good old fashioned, how can I make sure you know I appreciate my biggest account type of thing.
Now realize, to a businessman like myself, who has put together a little economic powerhouse over the years, it would keep me awake at night second guessing myself as to whether I've shown enough appreciation to a client that would not be able to be replaced if I lost it - But it doesn't happen - if the account is lost, oh well. Though that immediately brings up a different but related topic how business consumers accept this lacklusterness, instead of driving the deal that works best. Locally, among the long term institutions, vendors don't rotate - they are almost like a birthright.
For me, I've thrown $2000 parties, chose realtors to specifically work with, showrooms to work with, vendors to work with - it's typically not the day to day vendors that are remarkably unappreciative, a lot of times its from people who should know better - like the art gallery owner and a simple discount, or the restaurant and free meal or drink, or the subcontractor and the simple gift, or the appliance dealer when it's my time to buy appliances. There are a few people I work with who practice this fine and delicate art - and it is noticed indeed. It's a real shock to the uninitiated how coarse are the business mannerisms up here over the hill - and the ability to adapt and excel in that environment is a testament to those hardy souls who don't need basic daily nourishment - the stroke, the gift, the thank you, the gesture. I suggest to all my local biz associates who read this blog that we all take some time over the next month to say thank you to some one - and not by email, but by card, by gift certificate, by trip, by dinner, by happy ending... Etiquette is contagious, and besides the folks who should know better, etiquette is not something that all folks up here have been schooled in. A letter can actually stop someone in their tracks - the idea of one (once the automatic thought of ricin recedes).
I was feeling gushy today, and I had bought a new pen and a few cool thank you cards, and spent some time writing them. The locally lost art of client-wooing and client-spoiling and client-appreciation - the writing, the envelope, the insecure penmanship, the addressing, stamping, return addressing - something I hope to retrieve and pass onto Lucas. For me, I started with a gesture to some very valued clients when I got a fun inquiry about my Rental Cottage - I passed it along to the owners of the new 2 room Inn in Barryville NY. They deserved it, I could go without it, and the real monetary value of it means something - and it's what makes business fun - and to someone who has contributed to many households, businesses and Town accounts over the last 11 years, there is no place better than Sullivan County to teach you the value of giving without the expectation of return - and each time you do assuredly in all modesty expect an appropriate grease job after some business transaction, you are undoubtably setting yourself up for disappointment. And that's just the way it is.
Lil' ditty from W. Jennings-
I've always been crazy but it's kept me from going insane
Nobody knows if it's something to bless or to blame
So far I ain't found a rhyme or a reason to change
I've always been crazy but it's kept me from going insane

Always feel bad when a bird makes a nest someplace near a busy door and spends all its time flying to and fro the nest as people enter and exit. I guess that's where 'bird-brained' comes from.
Cottage 43 -Livingston Manor
Cottage 43 lives in Livingston Manor NY, on the Southern edge of the Catskill Park.

This has been a popular design and each time the iteration takes a unique creative direction - this draft eliminating some walls on the first floor between the living room, kitchen and fireplace room.


Handhewn posts and custom stairs.

Trying to turn this baby over by June 17, one of 5 home sales set for the next 5 weeks.
Cottage 44 - Sold
Brrrr - it's cold up here in the Catskills for this Holiday Weekend - cold and rainy. Will have to see how it plays out, but not looking good right now, though I have no problem lazin' around, cooling my heels, if that what the weather calls for.
We are super busy closing out 6 projects and starting 4 more.
Here's Thomas' Cottage in Saugerties NY - inspired by Matthew's Cottage 36 in Narrowsburg, and Miles' Cottage 40 in Woodstock. Started in the Fall, Finished in the Spring. Just like clockwork.

3 beds, 2 baths, 1450 sq ft. 6 acres.

Screened porch.

Some cable rail, rough hewn railing highlights.


The next generation POJAB - with a wet and dry area.


These trough sinks are always a winner.


Guest Bath.
The Master bedroom.

And the shared kitchen, dining and living room of lore.


Painted black doors, which I thought was a great new look that we hadn't thought of before. We just keep using those 3 chords to make new music, keeping it simple, keeping it real and keeping it creative.

Wood burner.

Outdoor party room.

A flashy entrance.

Stone wall for the new Owner to restack in his leisure.

And leaving him with the grass already growing.

Be it the cleaning person, the appraiser, the home inspector, the building inspector - we hear the same thing all the time - an exuberant "I could live here!" - coming from people who see homes all day long as part of their jobs, it's a good compliment.


